Setup
Ensure you have followed the CAA Regulations before setup
Contents
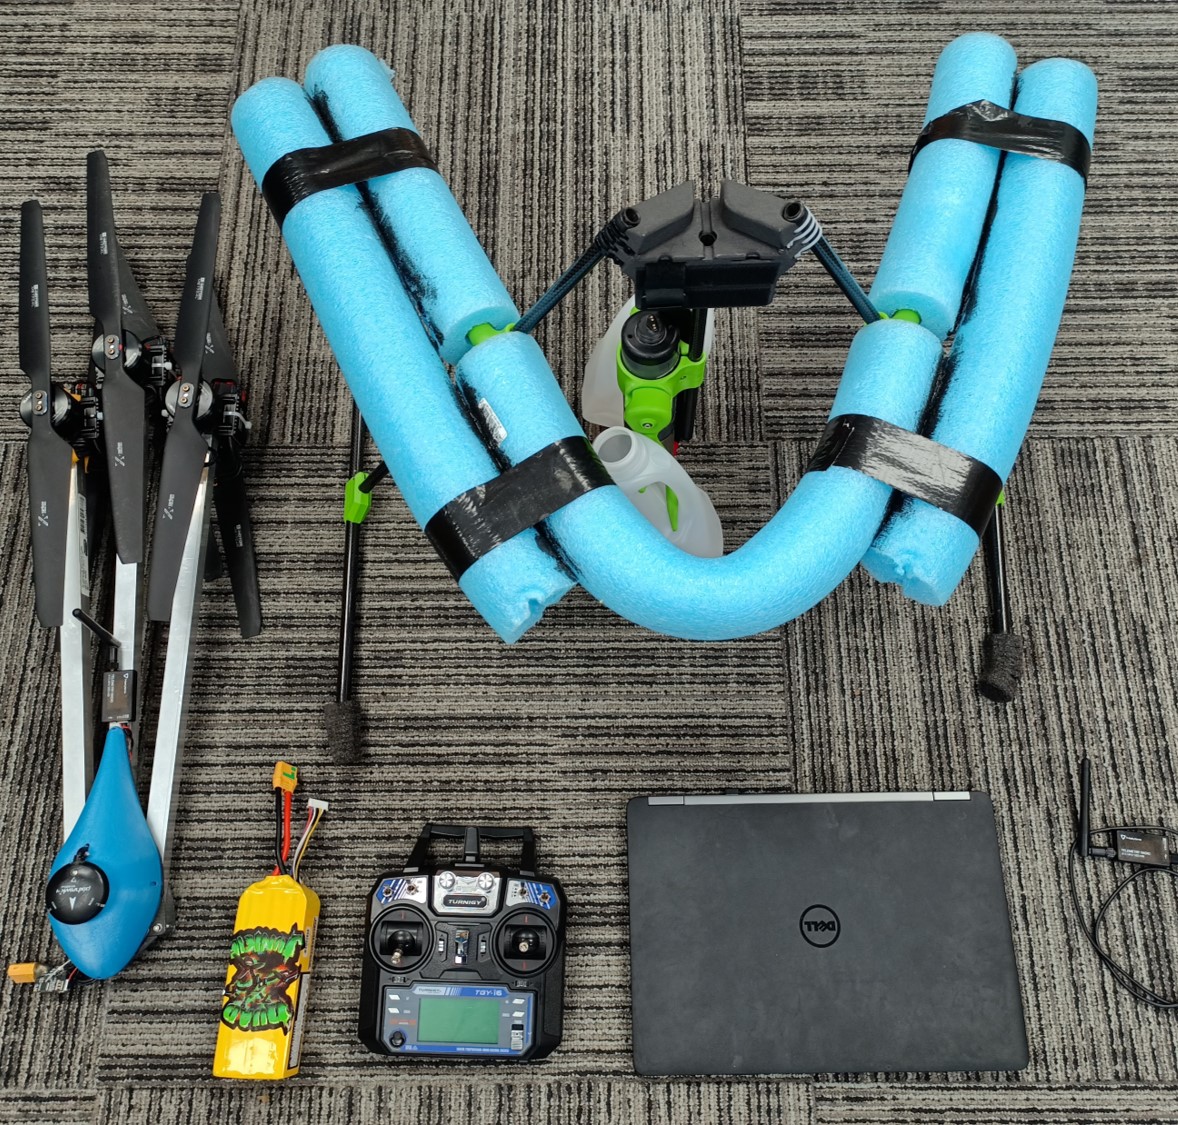
Attach Landing Gear
Fold out the arms
Ensure arms touch the front bolts
Ensure movement is stiff
If not, tighten the front bolt half a turn
|
|
Place landing gear on flat ground
Ensure AquaTilt pole is fully down
|
|
|
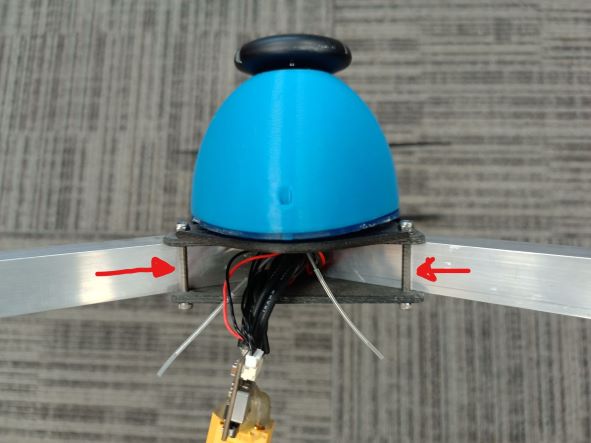
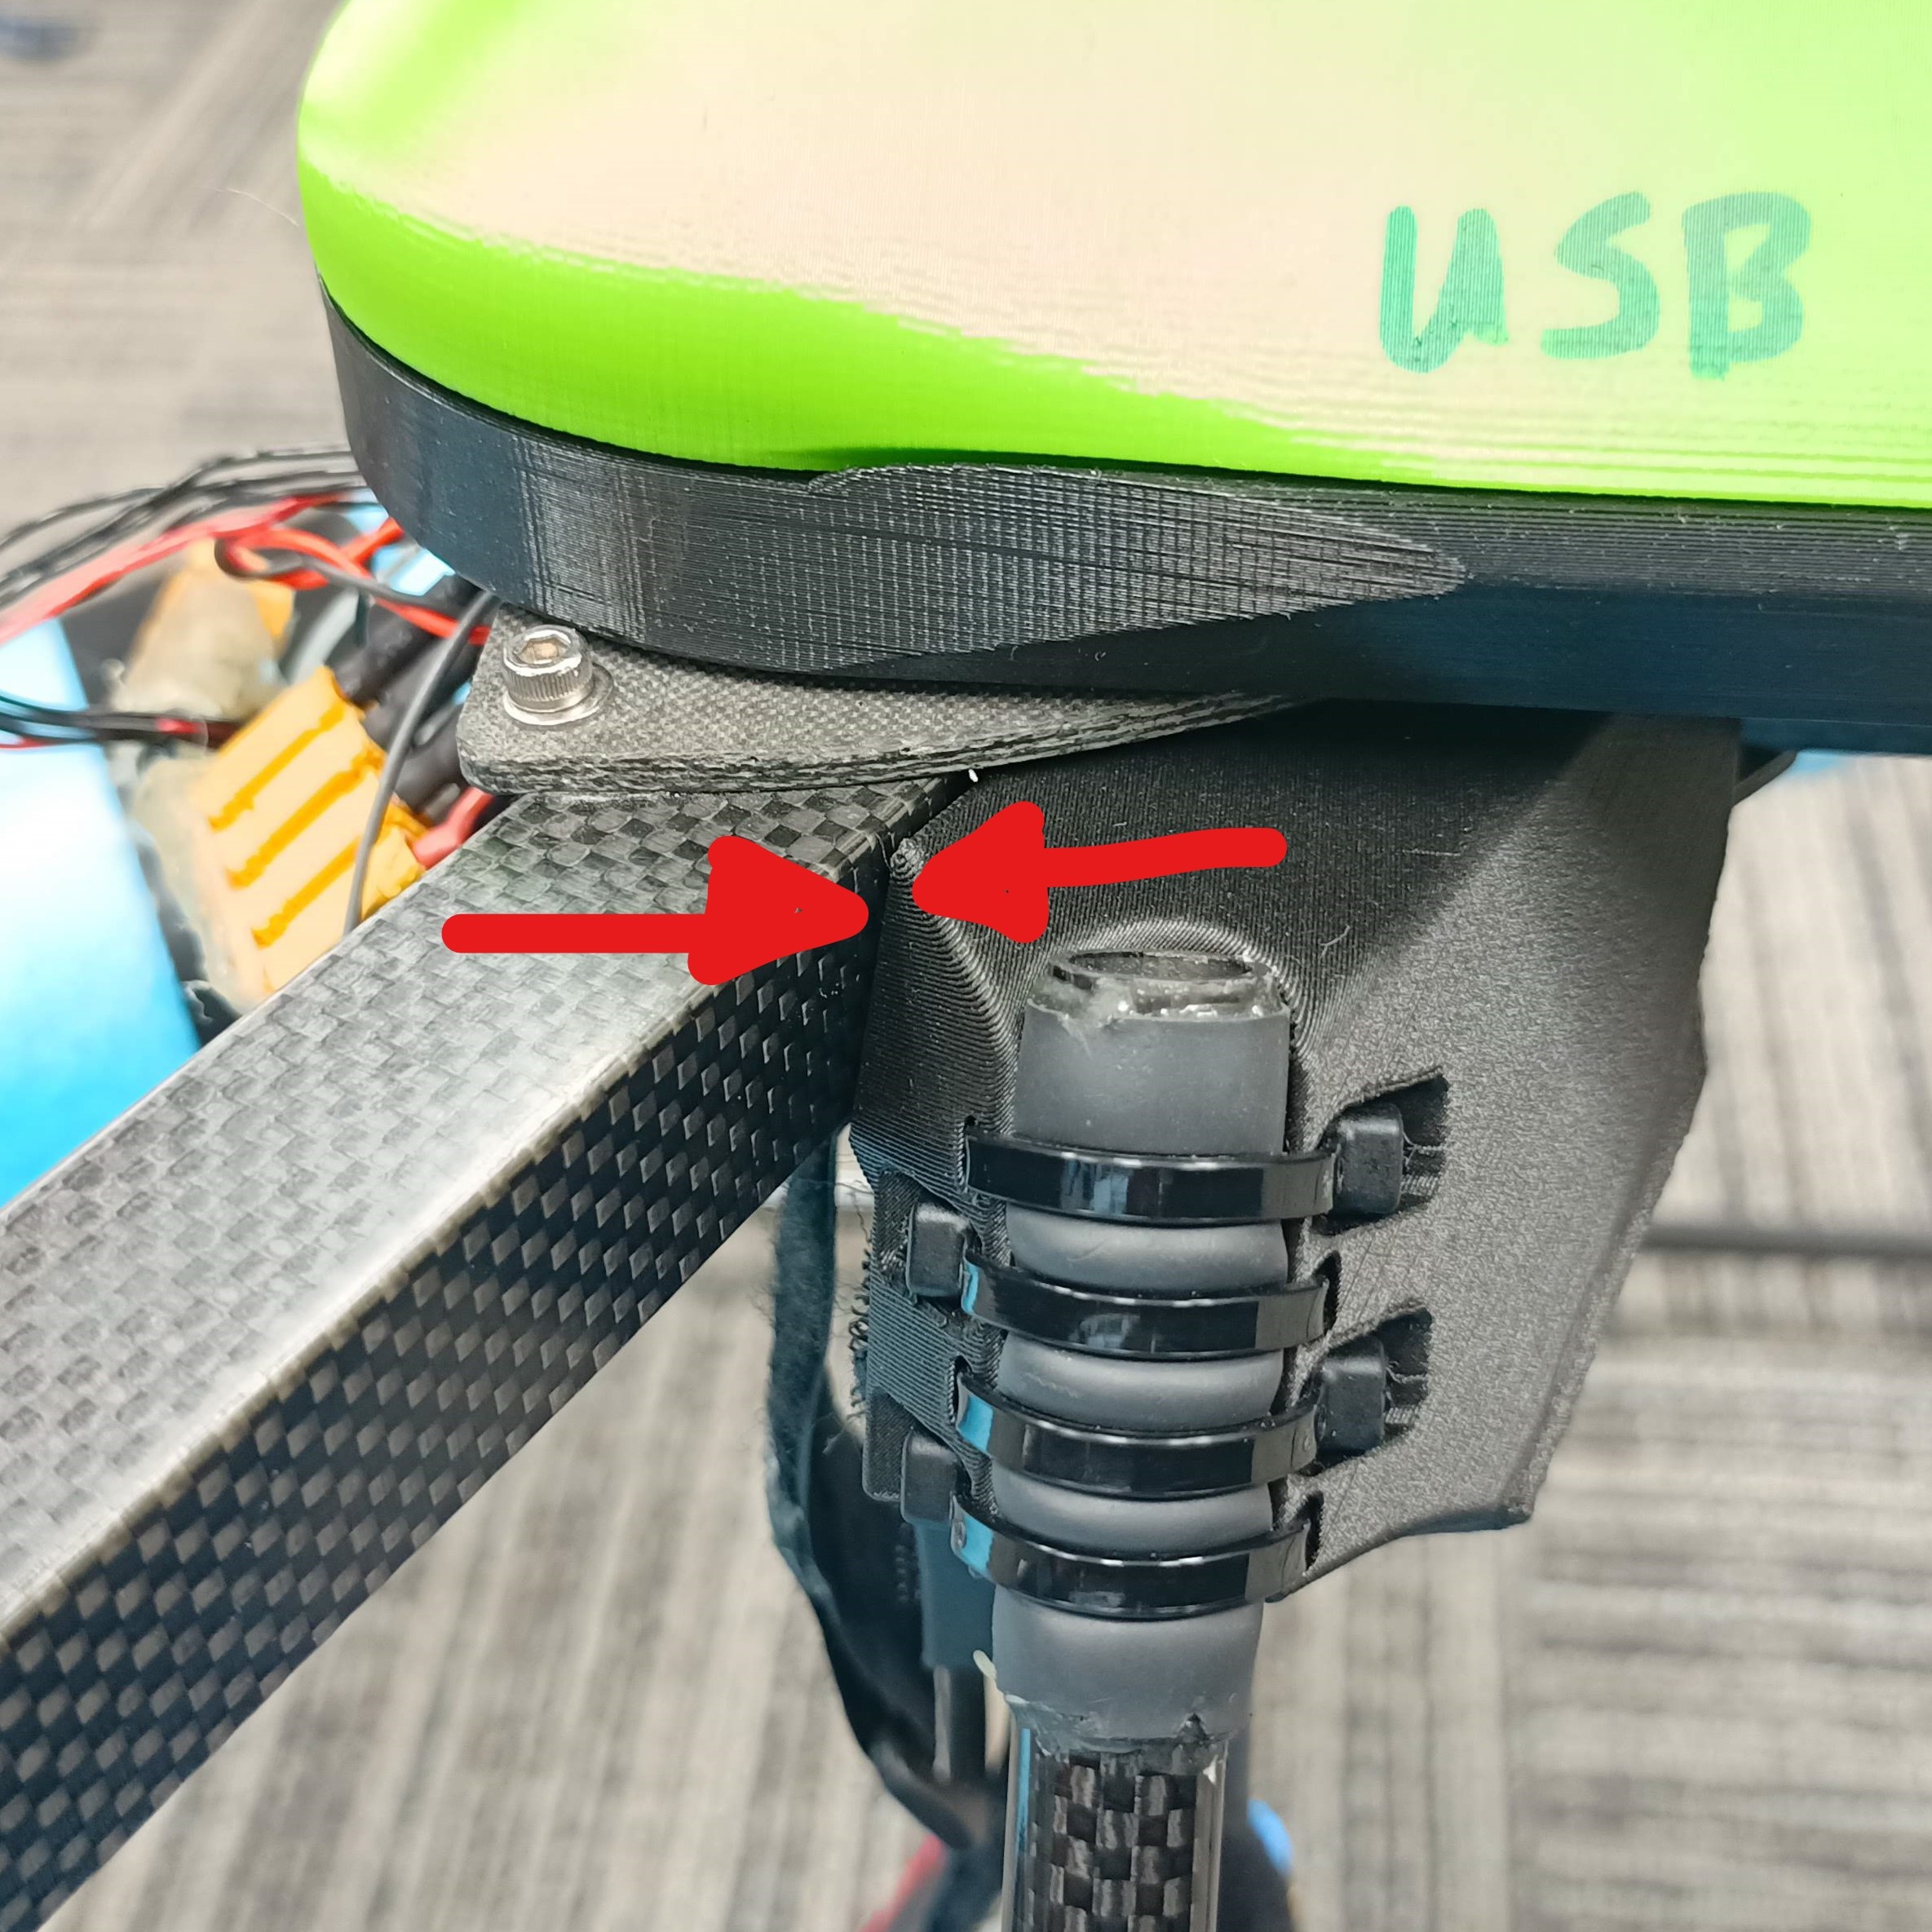
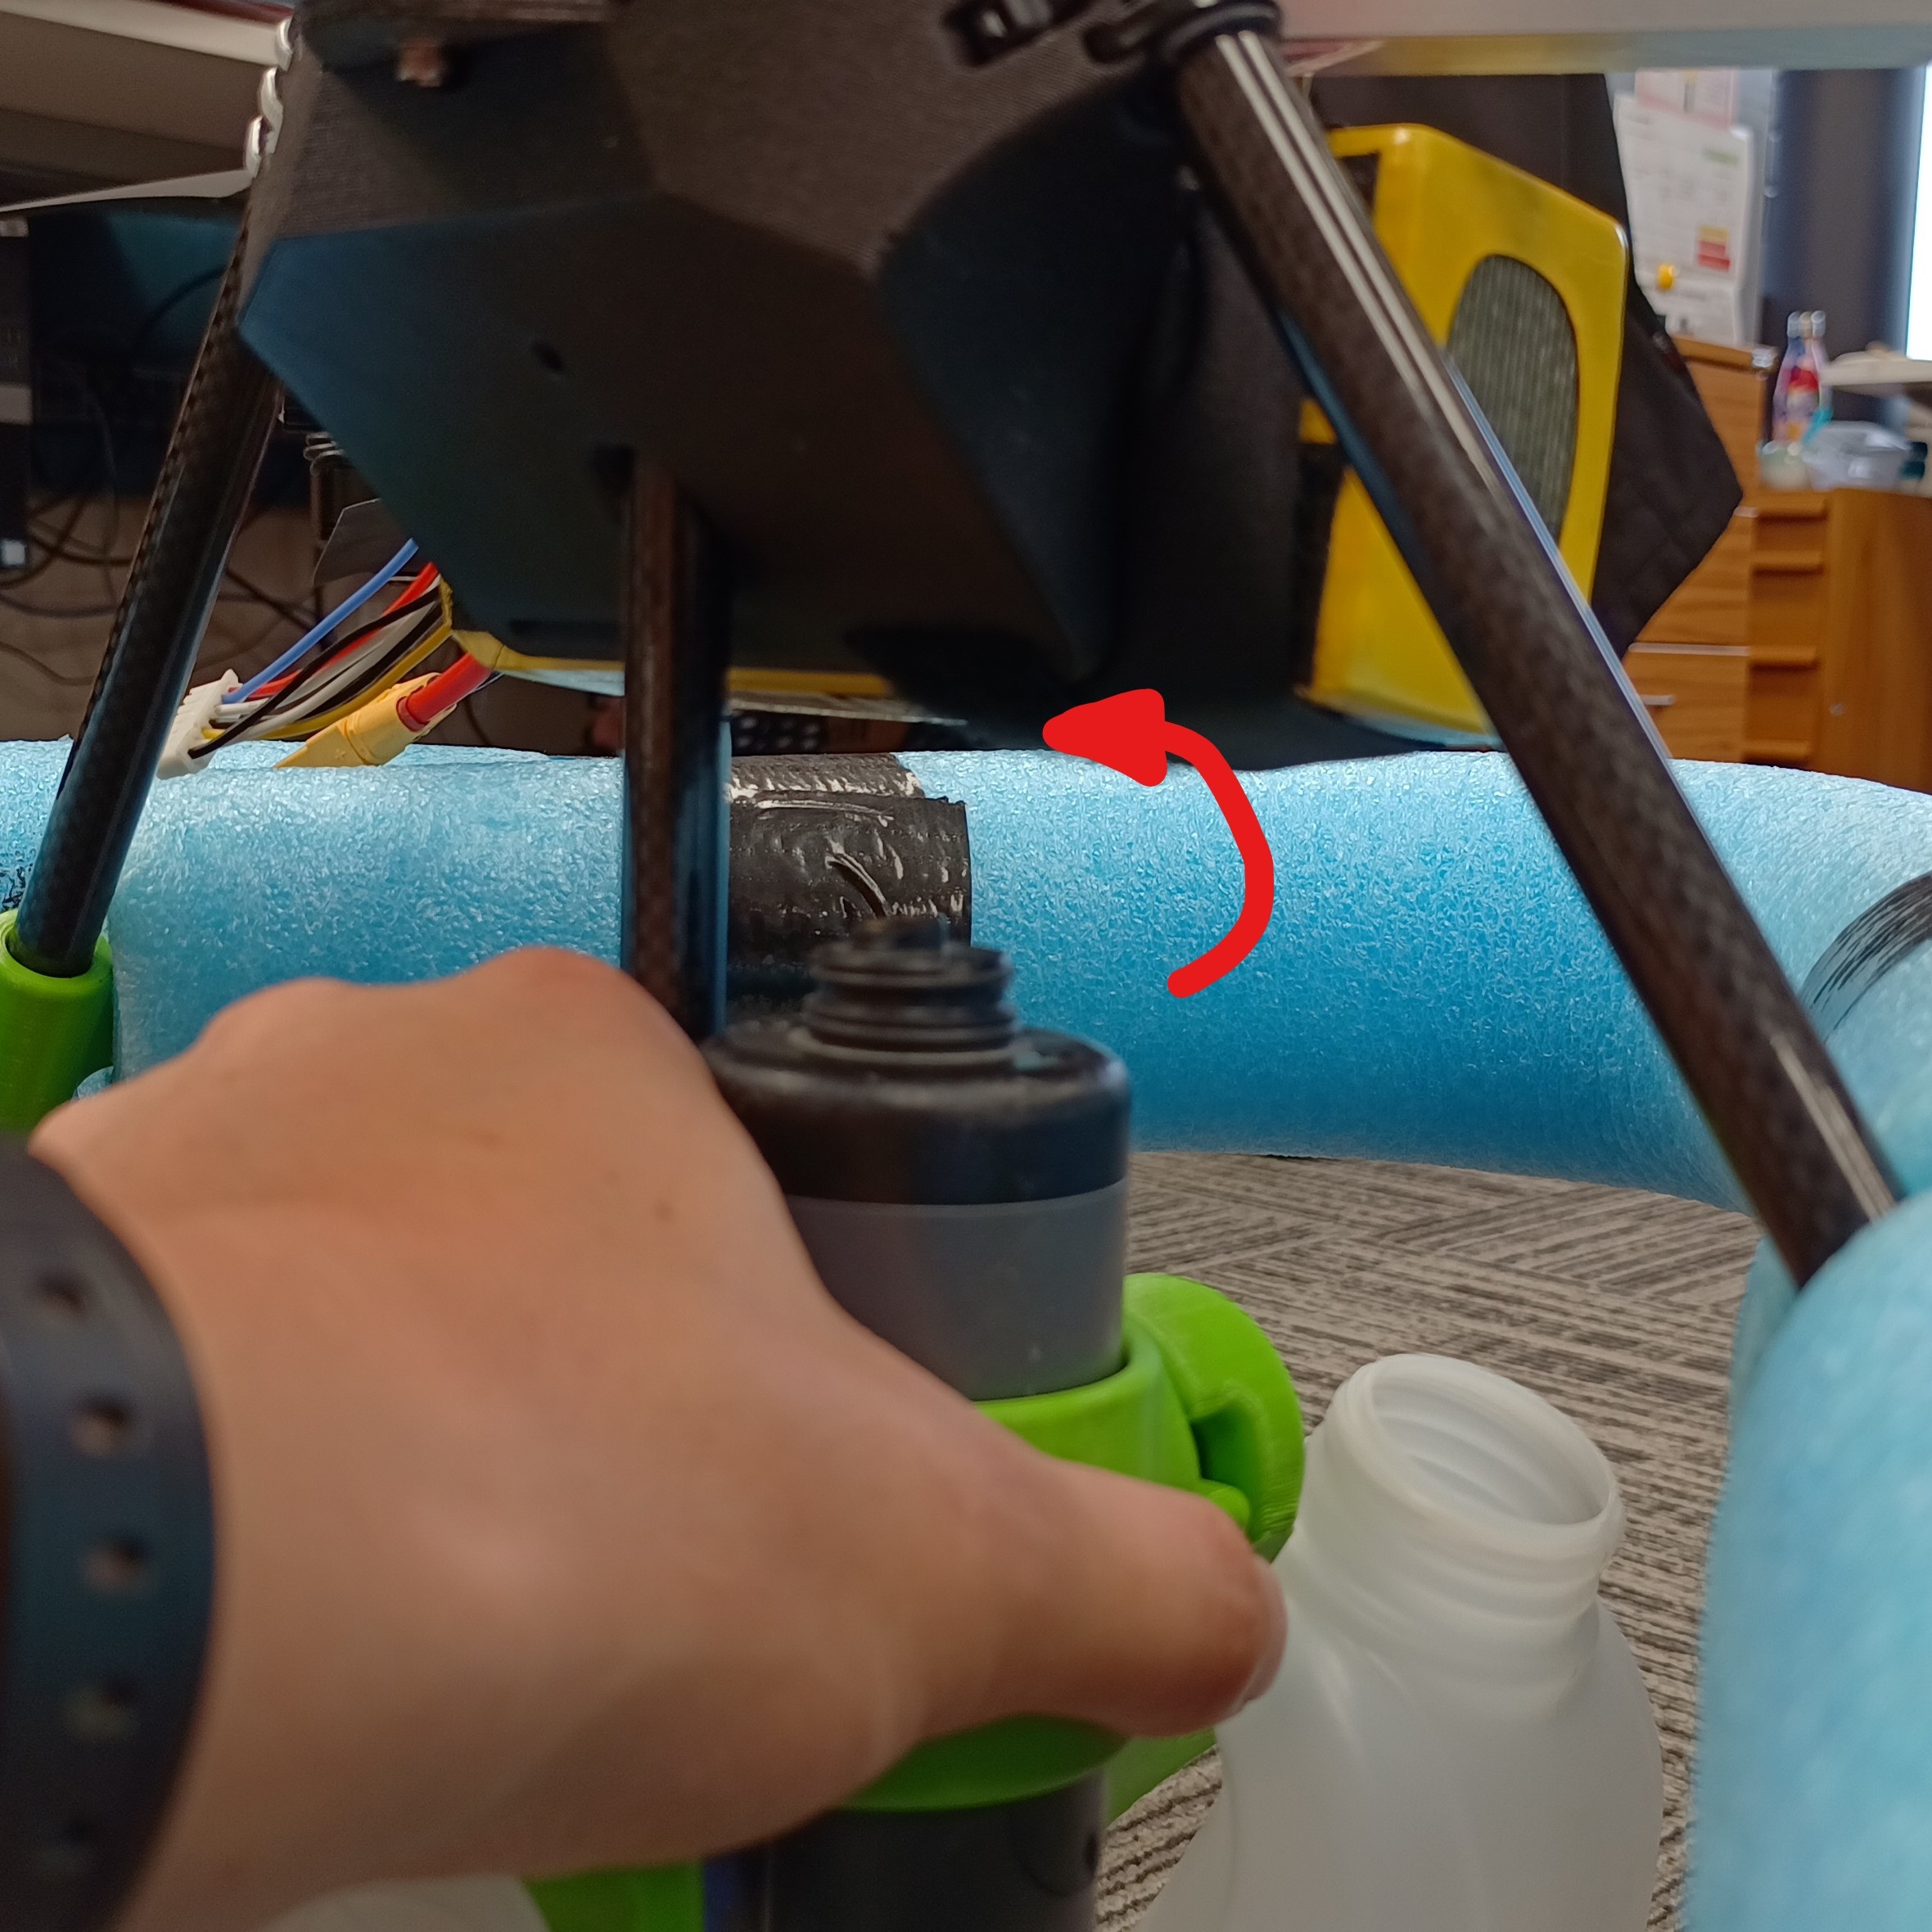
Slot back arm into landing gear
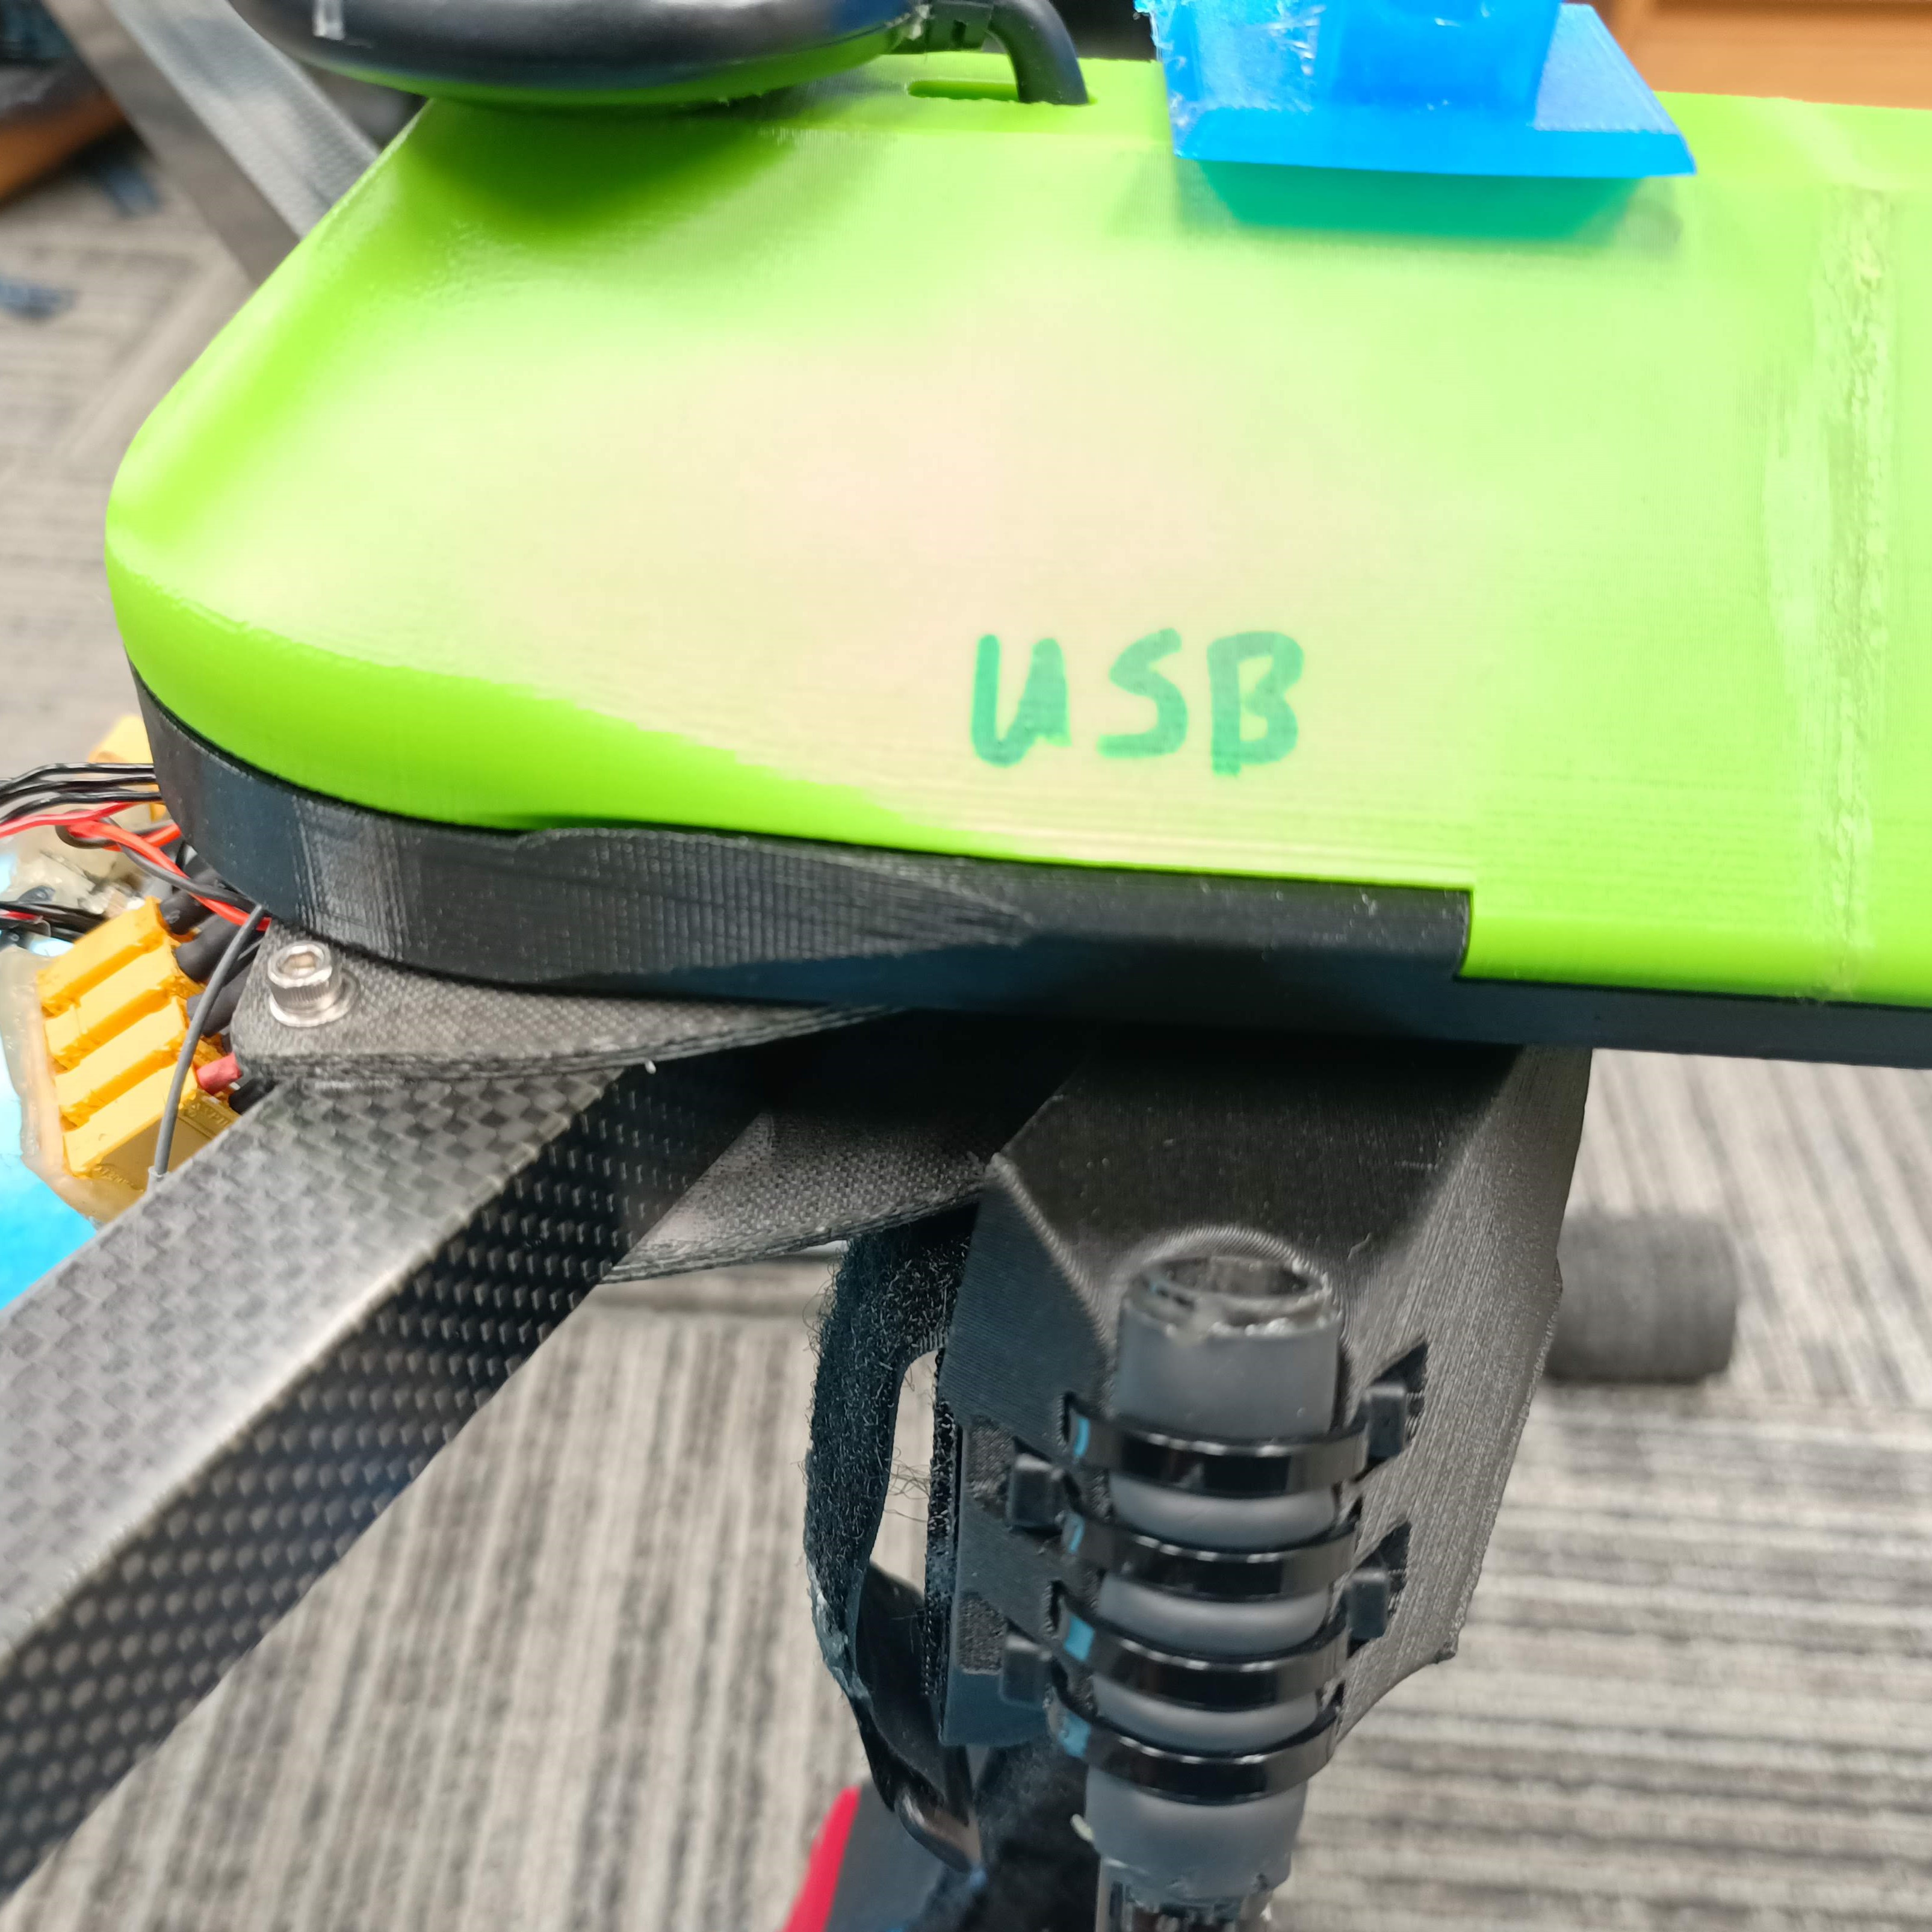
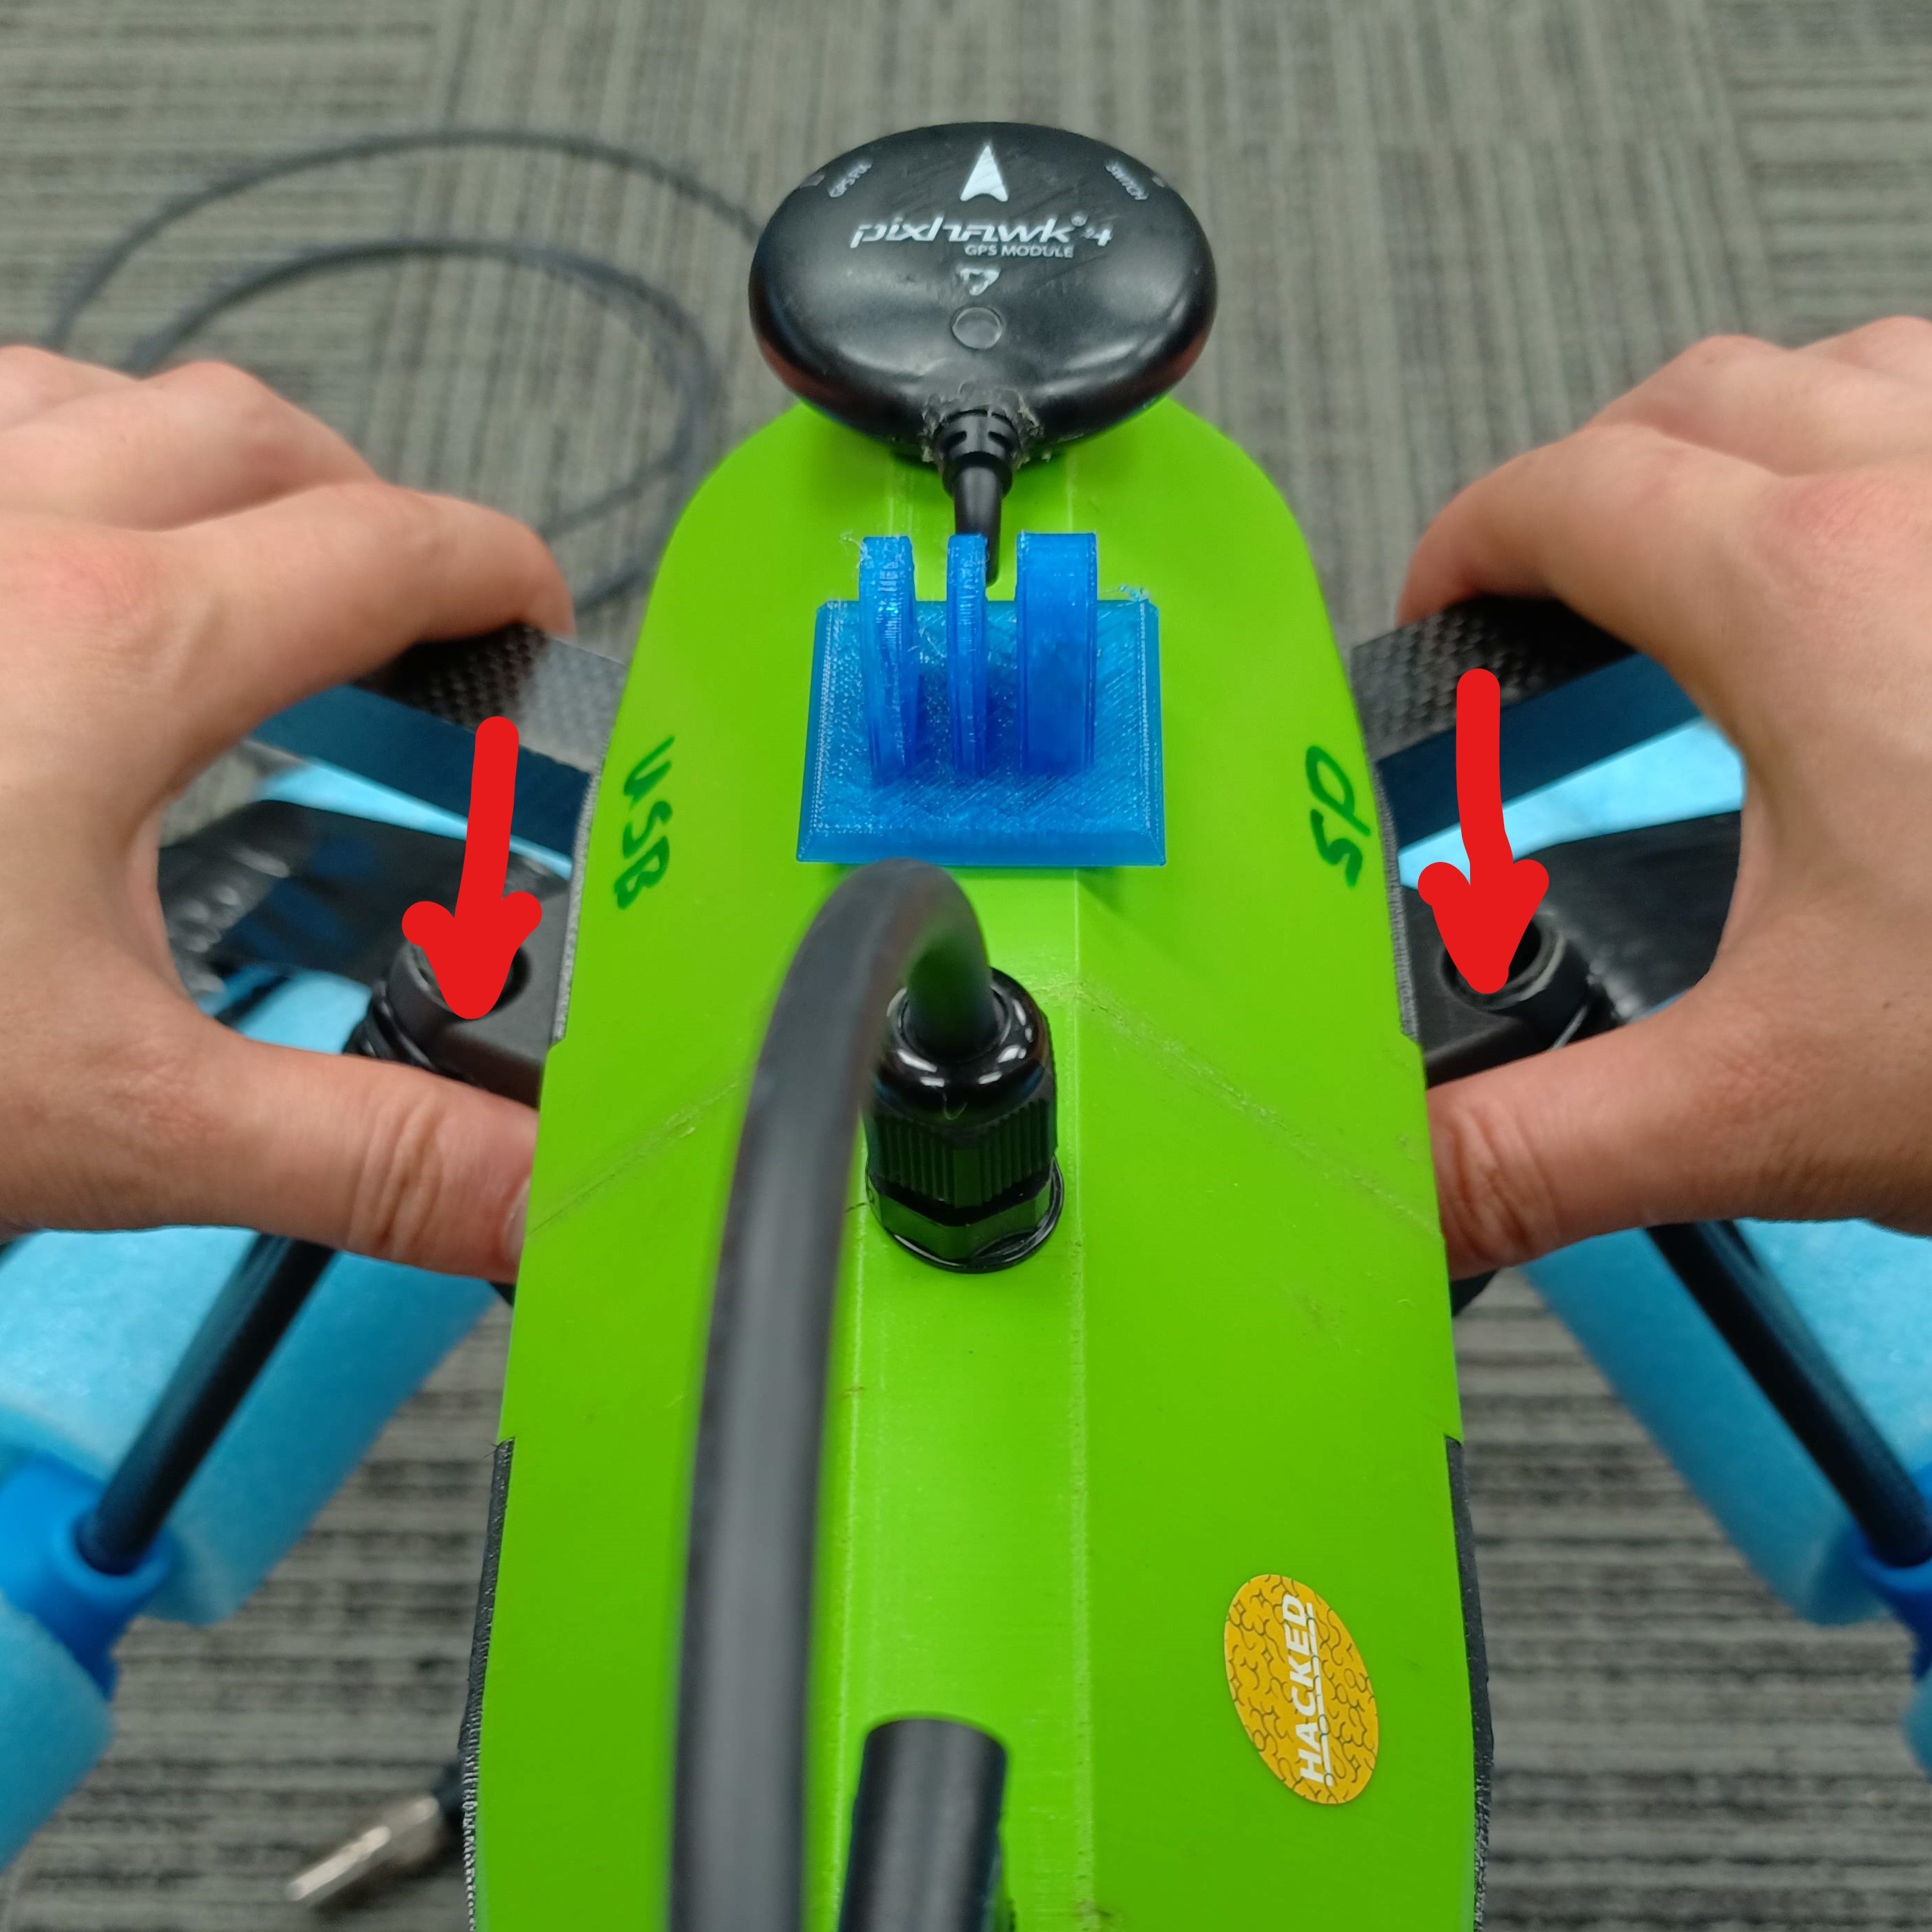
Slide copter into landing gear until the front arms touch
Grab the arms with your fingers and landing gear with your thumbs and press together (see image)
If unable to slide, ensure AquaTilt pole is fully down
|
|
|
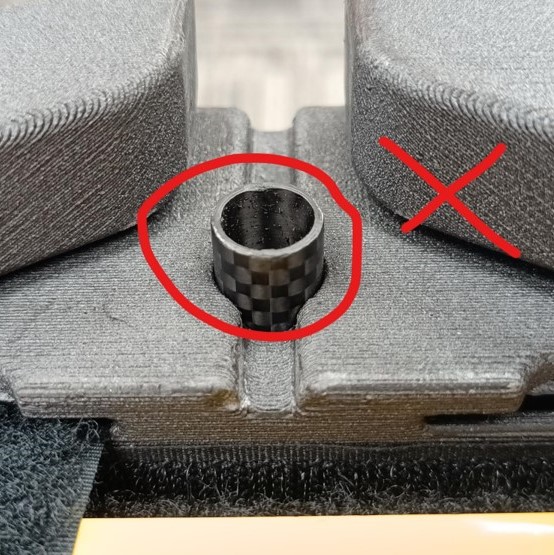
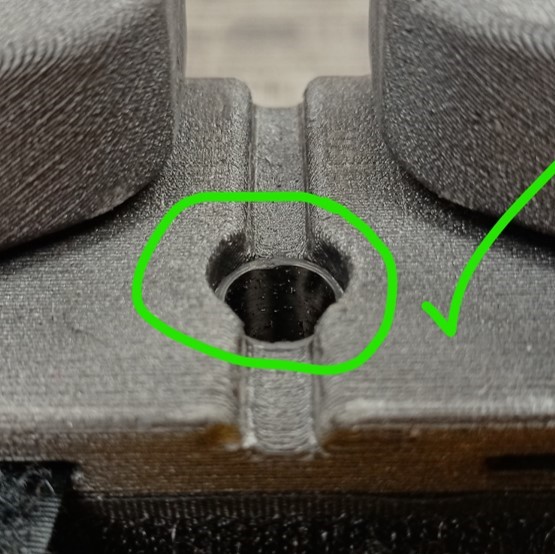
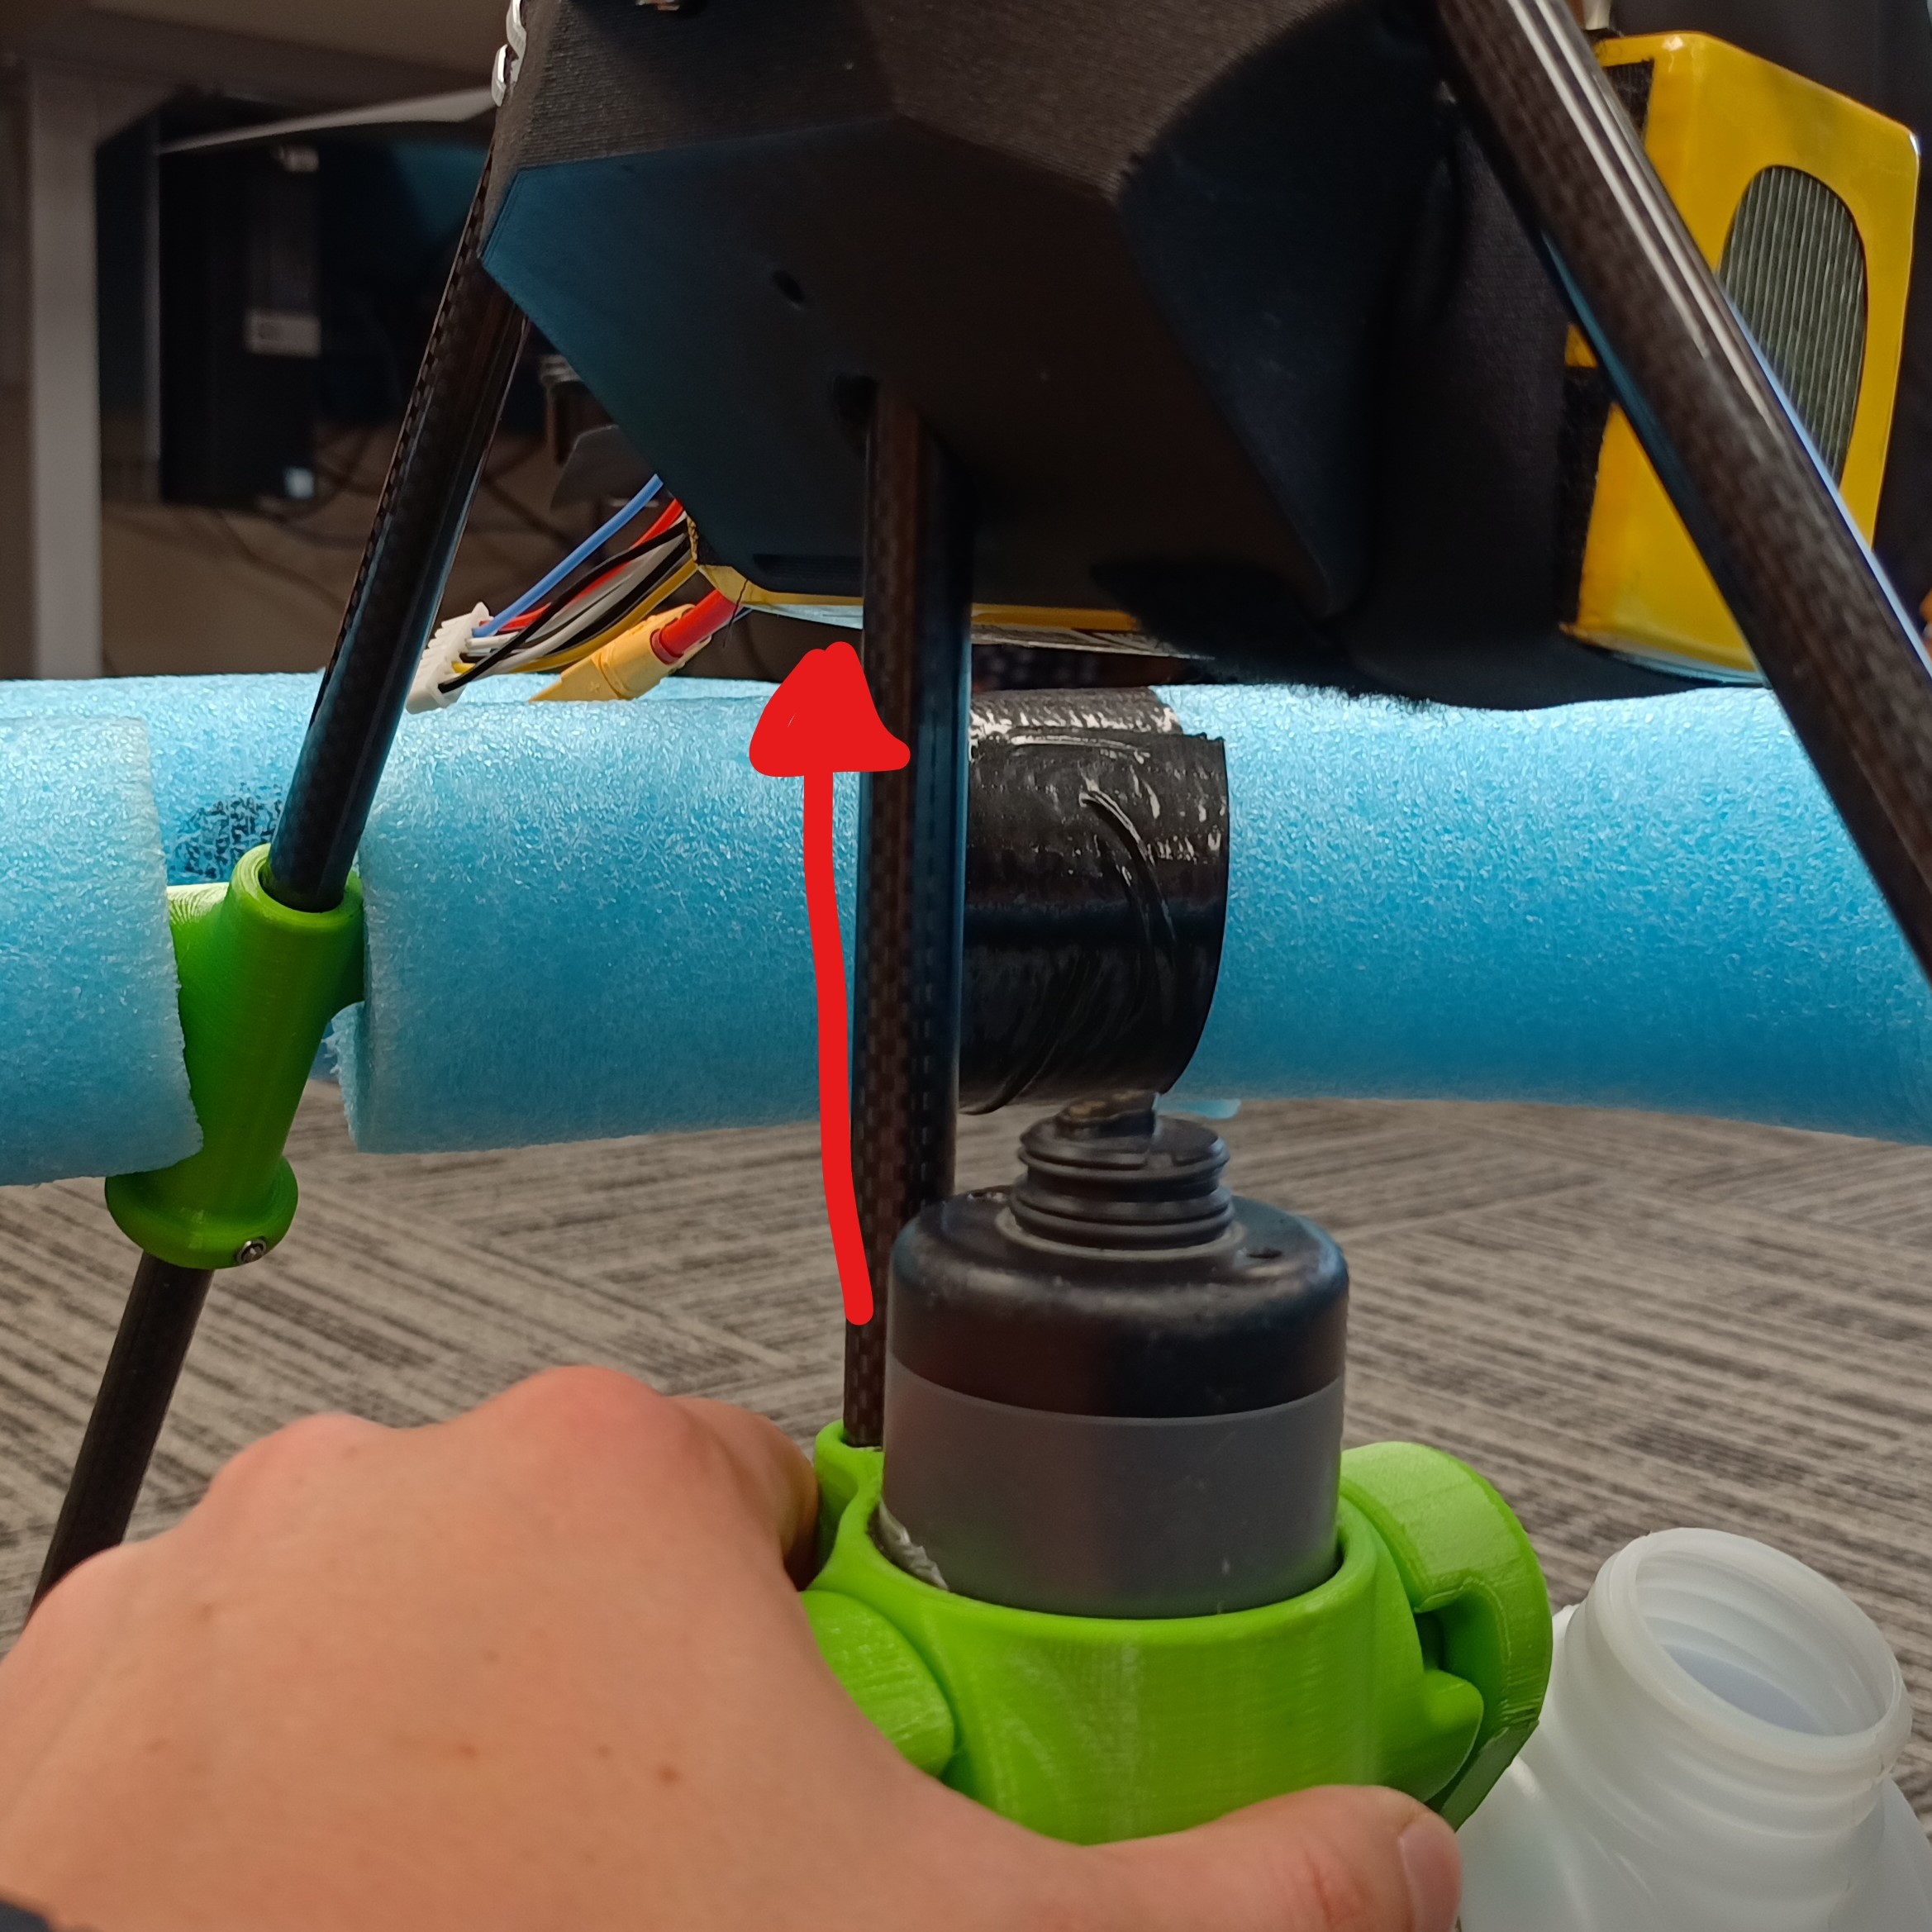
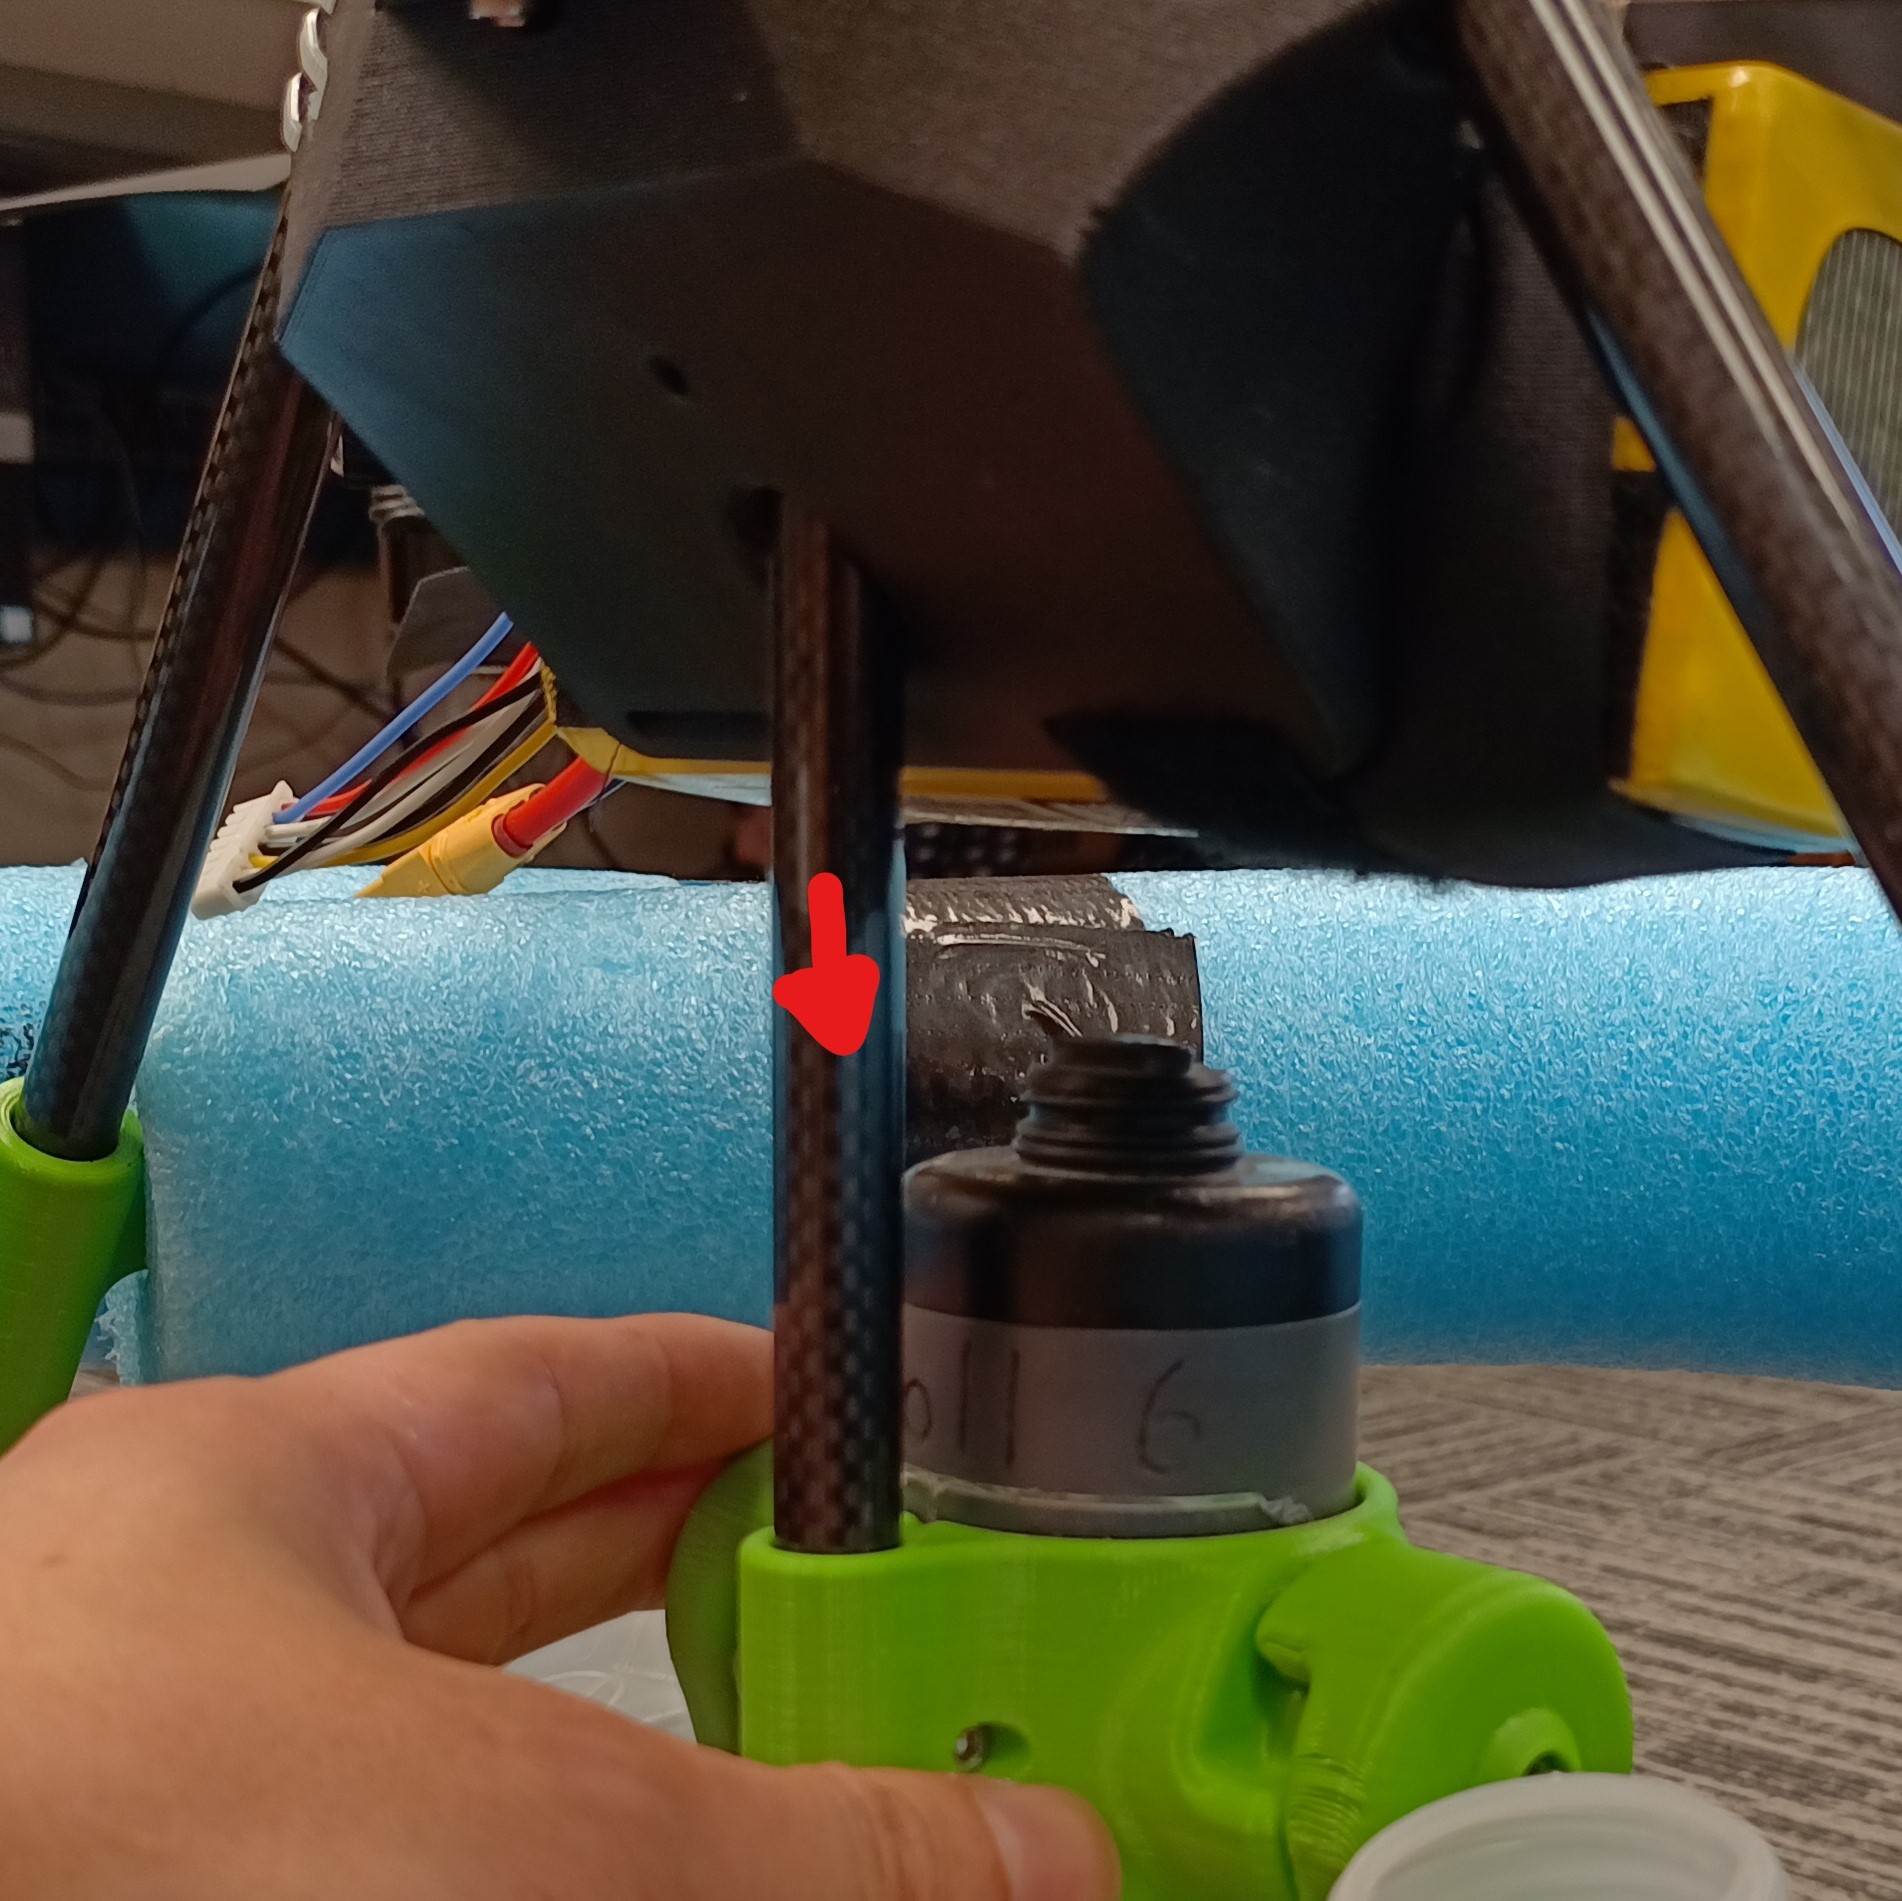
Push AquaTilt pole up into the hole in the copter bottom plate
This may require a jiggle
Twist and pull down to lock in position
Attach AquaTroll

Remove stabilizing cap from AquaTroll
Insert AquaTroll into AquaTilt from the bottom
AquaTroll should extend ≈10mm proud of the holder
Ensure level sensor is uncovered
Attach cable from AquaCopter to AquaTroll
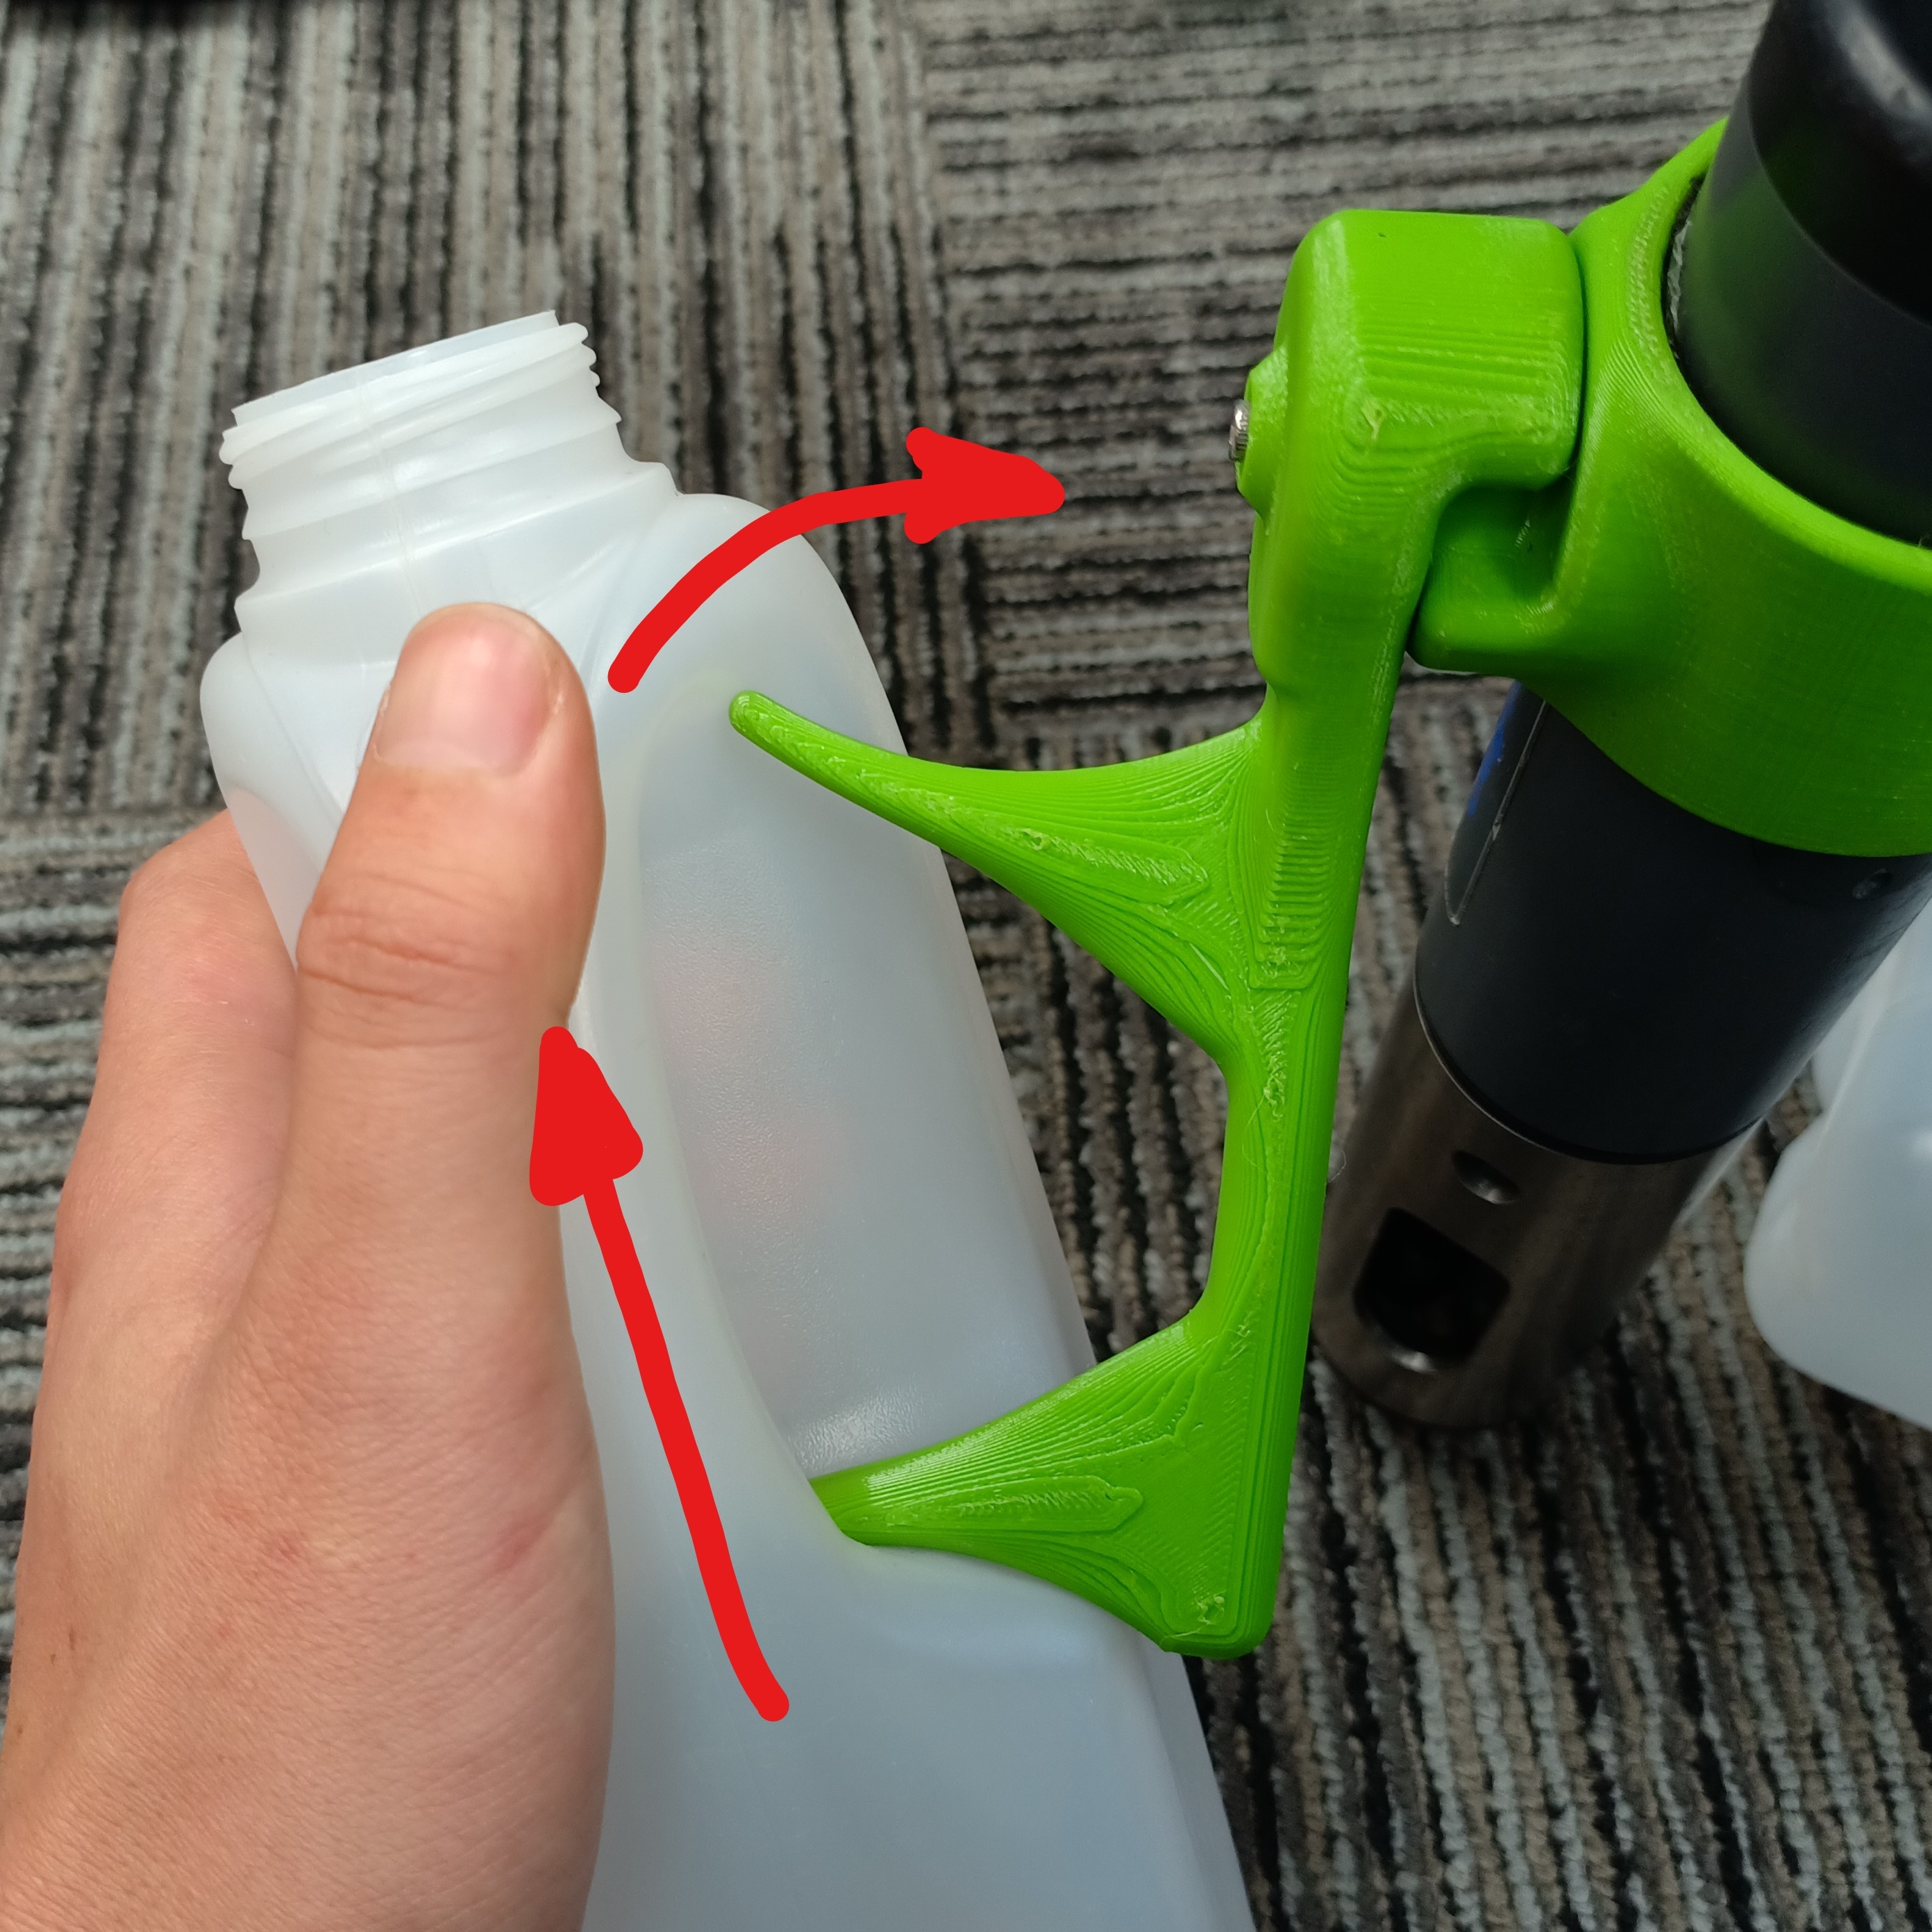
The bottles ‘rock’ onto the AquaTilt
Insert AquaTilt finger into bottom of the handle
Apply upward pressure and rotate onto top finger
Ensure the handles are facing upward
Power Copter
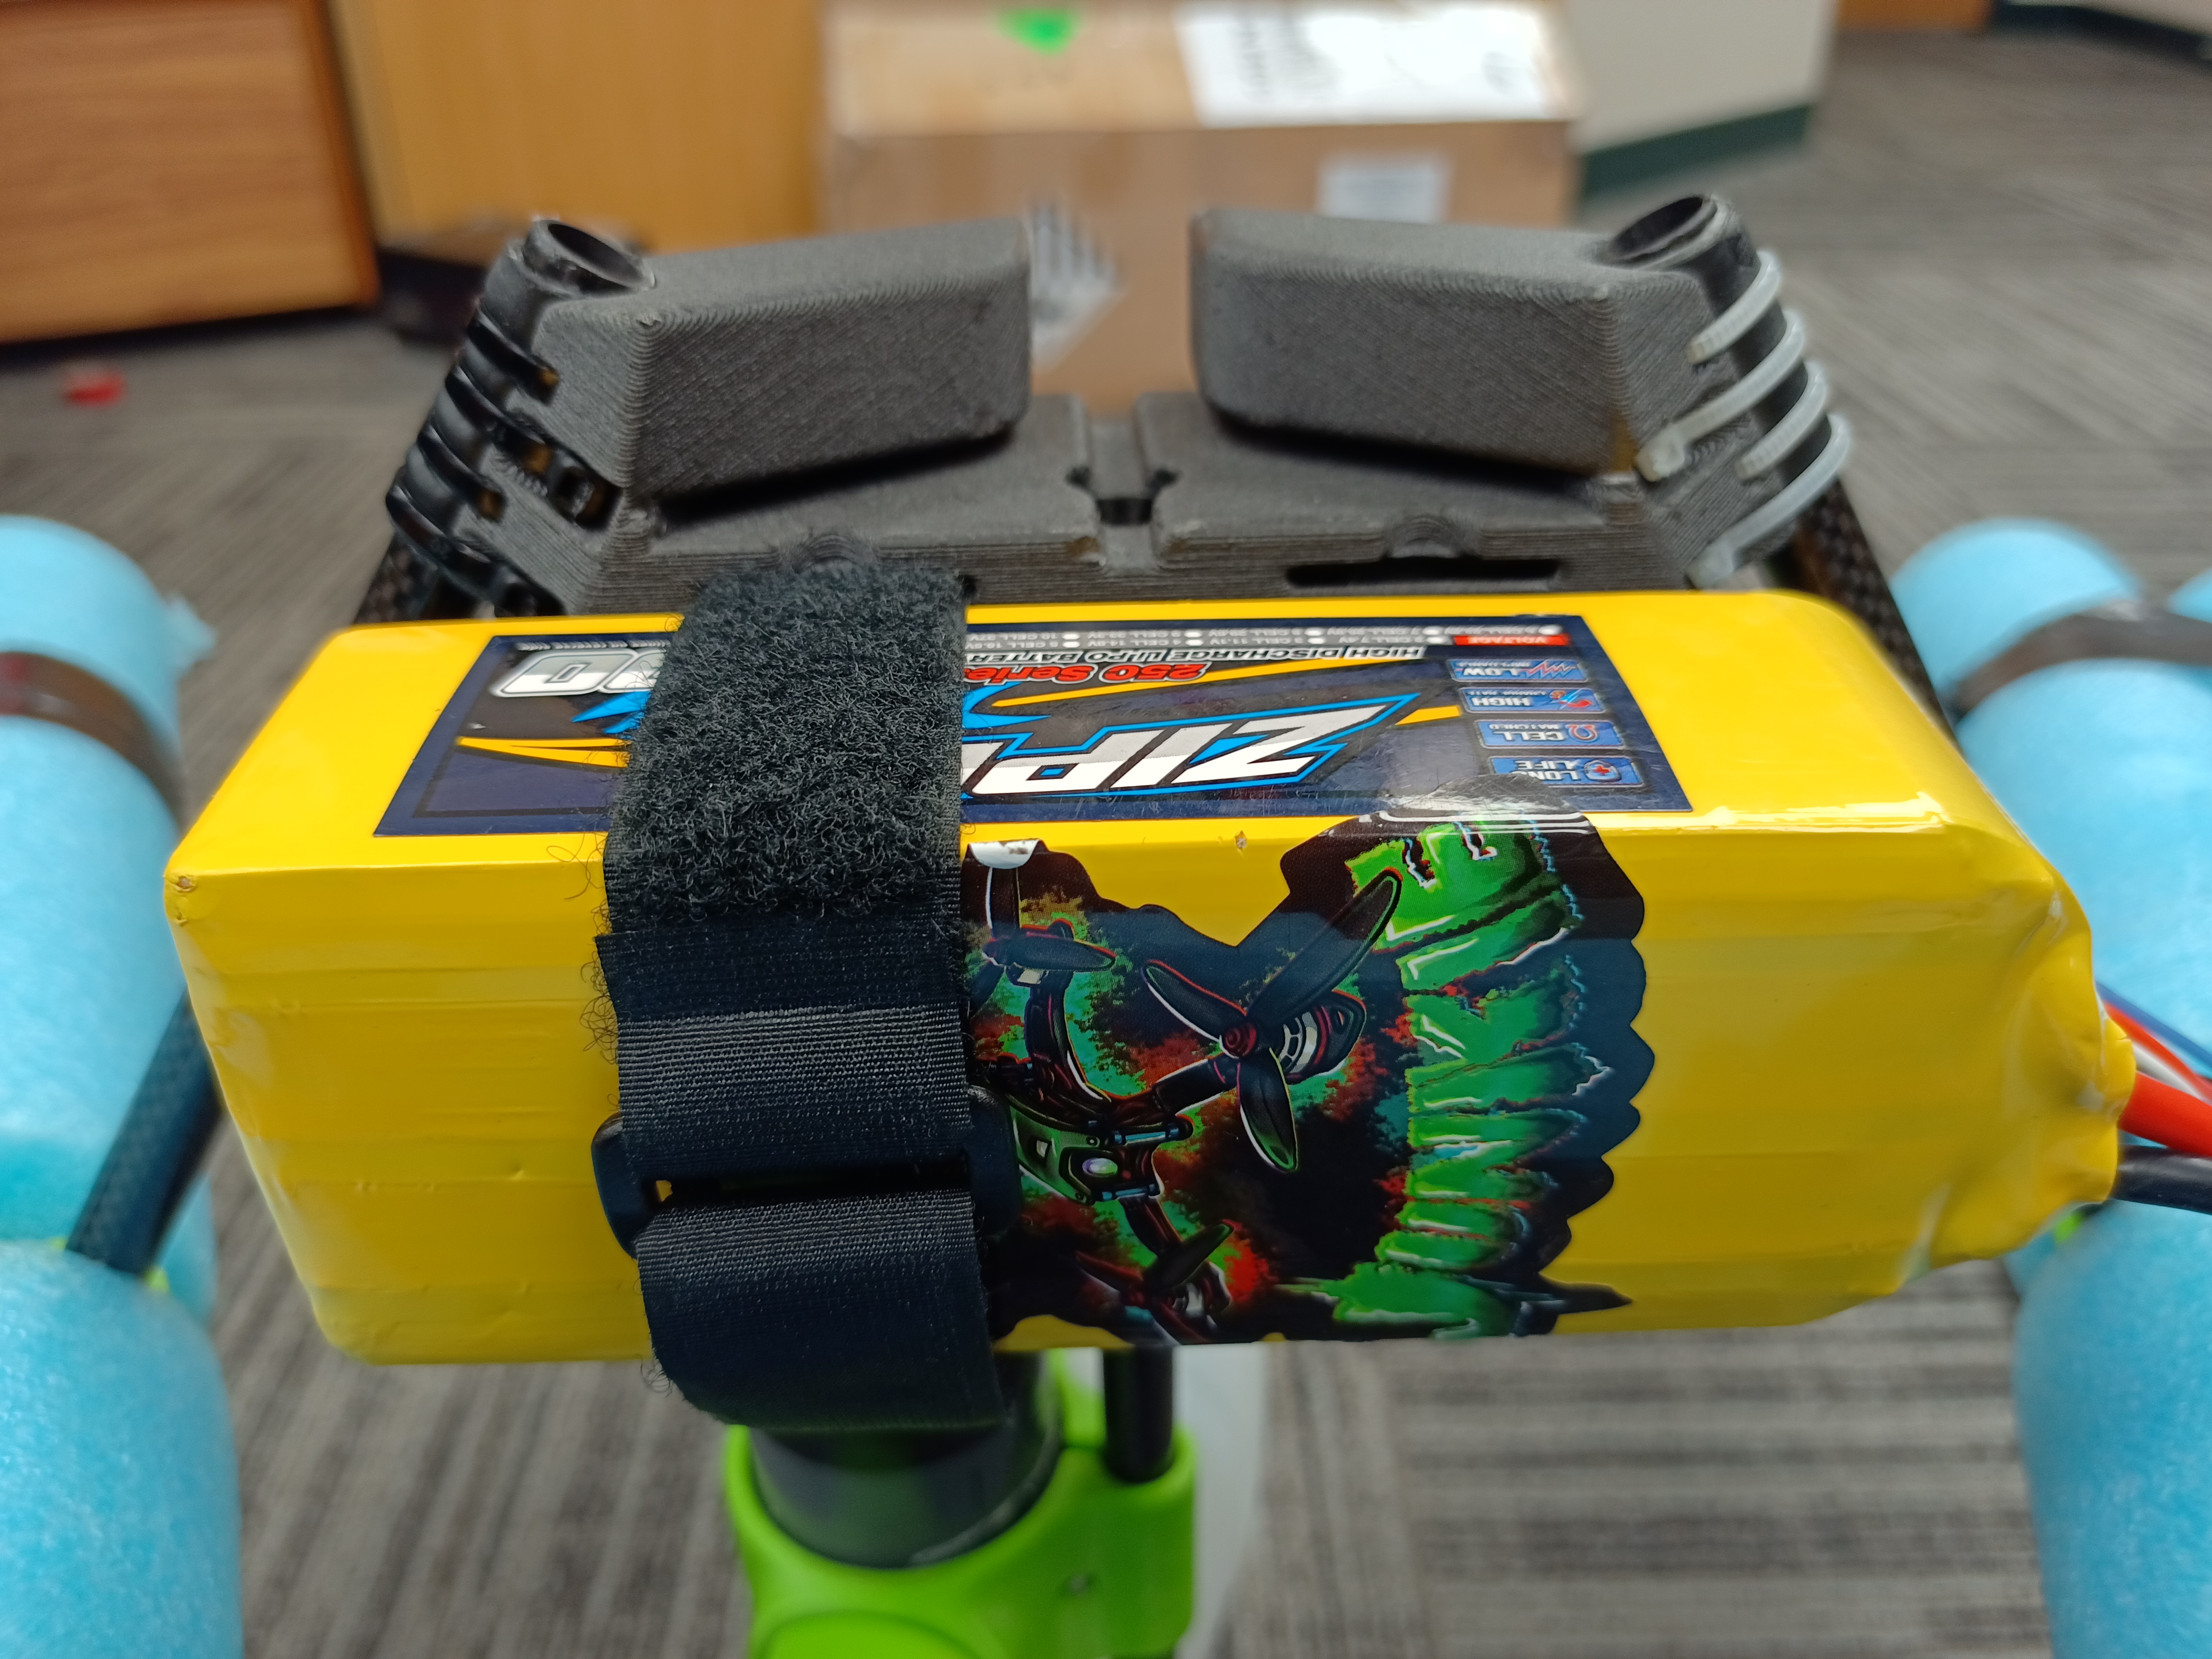
Attach battery with velcro, then tighten the velcro battery strap
Ensure battery is centered on landing gear and is secure
|
|
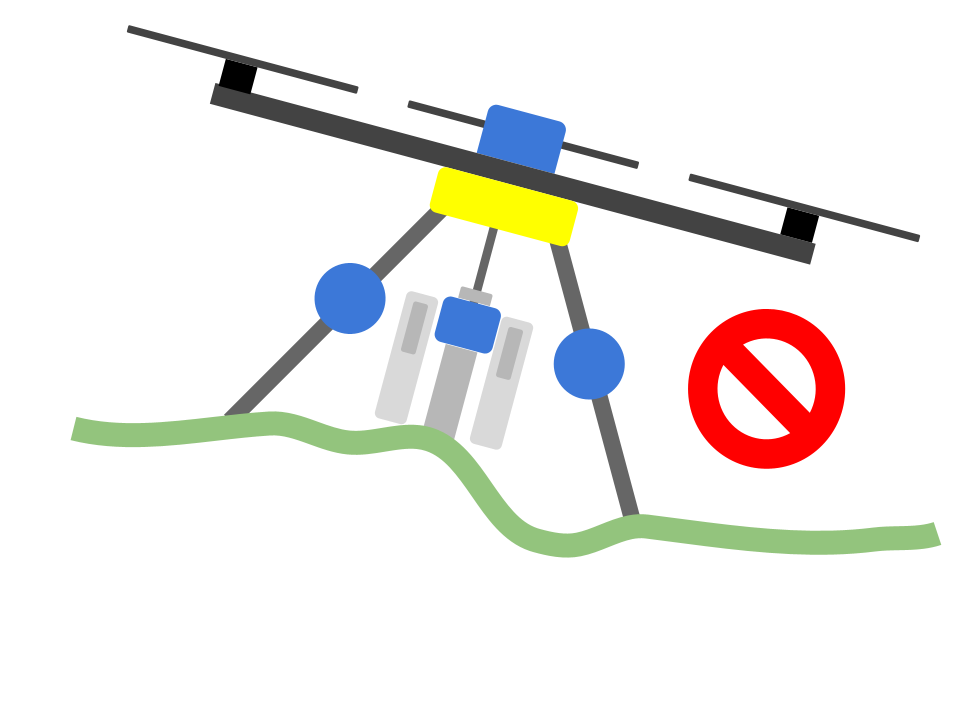
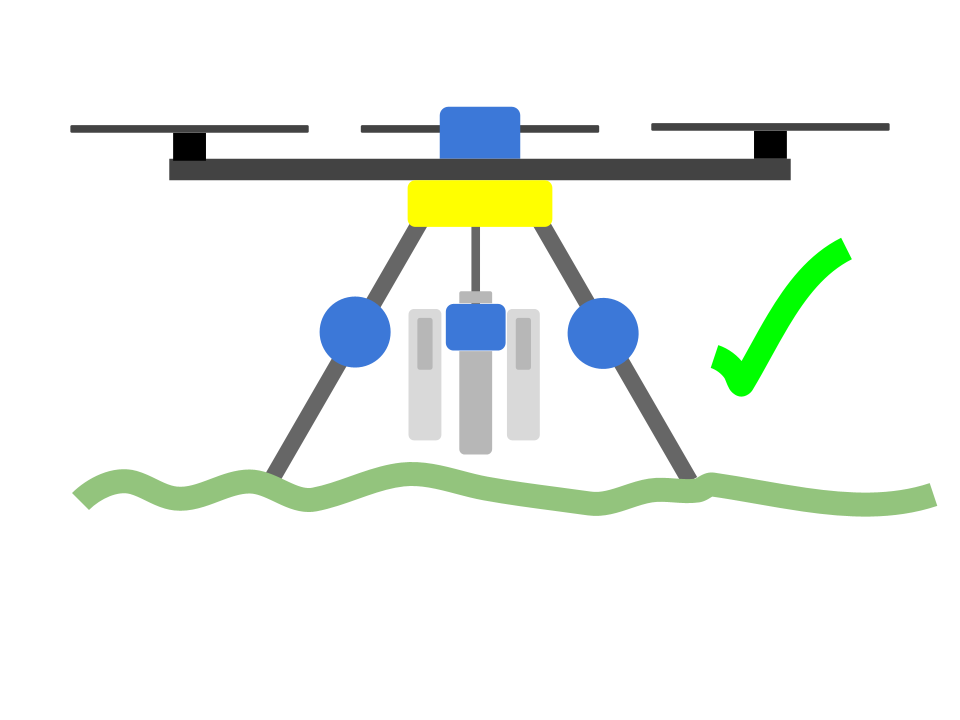
Ensure the AquaCopter is on a flat, level, stable, surface
This ensures the sensors calibrate properly
Ensure nothing is snaging the landing gear or AquaTroll
Plug in the battery to the AquaCopter, ensure it doesn’t move as it does it start up calibrations

There will be a series of beeps and flashes emitted from the GPS, these notify us of the status of the copter
Once the LED starts flashing yellow (few seconds), press the arm button
The motor should stop beeping and the LED should change to blue
Once the LED turns green the copter has a GPS lock thus is ready to fly. This make take a few minutes
Check out Status LED for more information